

How to make a Twitter Bot using Python and Tweepy
If you are new to python and looking for some fun python project , a twitter bot is a must try. So in this tutorial we will make a twitter bot using python and tweepy .
What is a Twitter Bot
A twitter bot is a program which automatically does the following using the twitter api :
- Sends a twitter update.
- Retweet some tweets.
- Favorite/like some tweets.
- Follow/followback people on twitter and many more.
A twitter bot can be as simple as one sending a tweet at random interval or as complex as one which uses AI and Machine learning for interacting with people.
What Twitter Bot will we be creating?
We will make a Twitter Bot using Python which will work as under:-
- If a user mentions you in a tweet and sends a picture (with atleast one person) to you.
- Our Twitter Bot will remove the background of the image.
- And automatically send back the image without the background to the original user.
What will we need?
- A twitter account
- Tweepy api module
- requests module
- An account on remove.bg and it’s api
- Pillow (Python Image Library)
Setting up your twitter account/tweepy api
I hope that all of you already have a twitter account. If not, click here to create one. Once you are done creating the account open developer’s page and click on ‘Apps’ —> ‘Create an app’


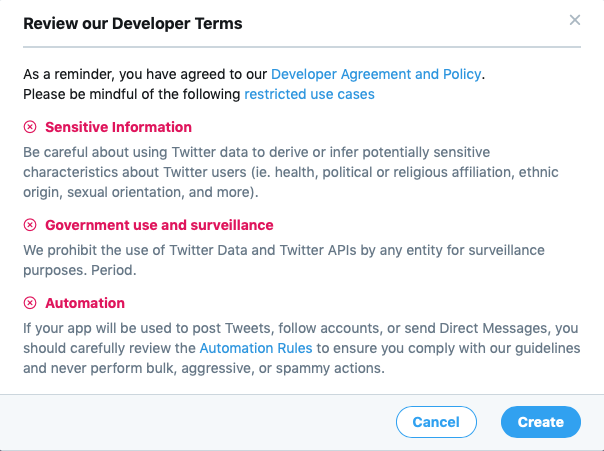
In the next screen fill the following:-
- App name : bg_remove_demo (You can use any)
- Application Description: Write the one which we have written above.
- Website URL : https://placeholder.com will do.
- Tell us how this app will be used : Write down the description again
and hit ‘Create’. Hit ‘Create’ again and then click on Keys and tokens.
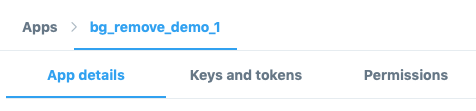
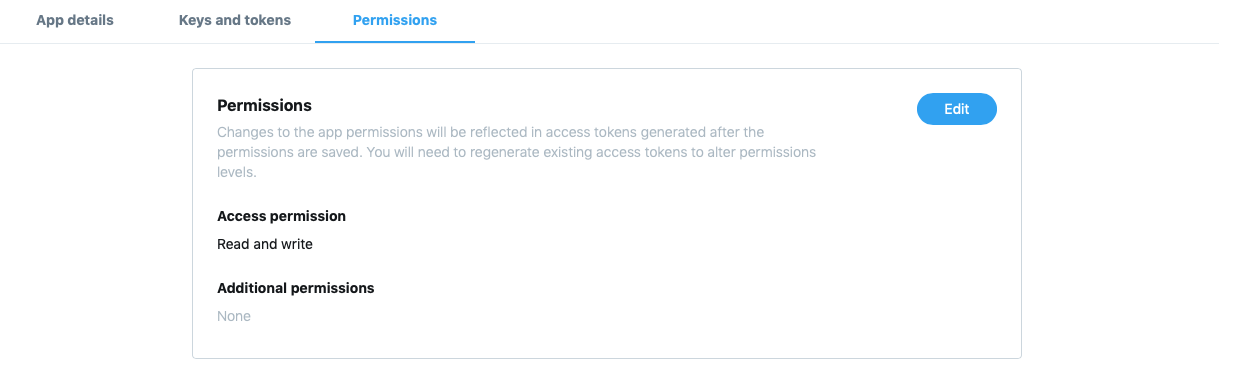
In the next screen you will get the Consumer API Keys i.e. API Key and API Secret Key. Now, create Access token and Access token secret. In permission tab check that ‘Access Permission’ is for “read and write”
Let’s get into the coding part:-
$ cd desktop
$ mkdir remove_bg_demo && cd remove_bg_demo
Now create and activate the virtual environment using the following command:-
$ virtualenv .
$ source bin/activate
Install the necessary modules
$ pip install tweepy
$ pip install python-decouple
Now, we will be saving our credentials in a ‘.env’ file and using python-decouple to access that in our code. So create a new file. Or alternatively, you can use Environmental variable to save your secret keys .
$ nano .env
And in the .env file add your credentials
CONSUMER_KEY=YOURKEYGOESHERE
CONSUMER_SECRET=YOURSECRETGOESHERE
ACCESS_TOKEN=YOURACCESSTOKENGOESHERE
ACCESS_SECRET=ACCESSSECRETGOESHERE
You don’t need to add quotes or space.
Create a python file ‘bot.py’ and start coding
import tweepy
from decouple import config
All the requests will use Oauth for authentication. And after authentication we will construct an API instance
# authentication

auth = tweepy.OAuthHandler(config("CONSUMER_KEY"), config("CONSUMER_SECRET"))
auth.set_access_token(config("ACCESS_TOKEN"), config("ACCESS_SECRET"))

# API instance

api = tweepy.API(auth)
You can check the functionality by sending a test tweet
api.update_status("This is a test tweet using tweepy.")
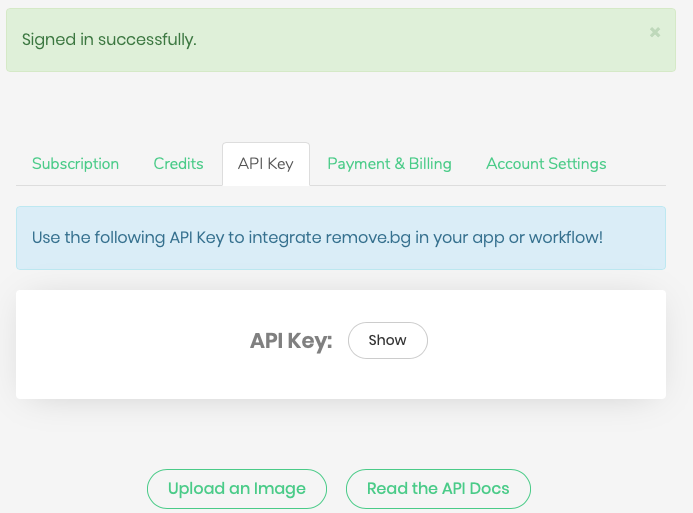
Setting up remove.bg API
If everything goes well, we can jump to the next step. Head to remove.bg, sign up and sign in. Then click on API and scroll to down. Click on ‘Show’, copy the API key and paste it into .env file.
BG_API_KEY=YOURAPIKEY
You must note that, the free account only provides 50 API calls per month. So use them wisely.
Finalizing the Bot
First of all, we will be creating a stream listener, which is a class inheriting tweepy.StreamListener class and we will be overriding it’s inbuilt on_status function and modifying it in such a way that it will fetch the screen name and id of the tweet. Then, Each tweet on a twitter has certain entities which hold URLs, media, hashtag etc. So, we will check whether the tweet sent contains any media i.e. image
class MyStreamListener(tweepy.StreamListener):

    def on_status(self, status):
        username = status.user.screen_name
        status_id = status.id

        if ‘media’ in status.entities:
            for image in status.entities['media']:
                tweet_image(image['media_url'], username, status_id)
Now, we create a stream and start it
my_stream_listener = MyStreamListener()
stream = tweepy.Stream(auth, my_stream_listener)
stream.filter(track=['@saral_gyaan'])
I will quickly go through the code above. So, when we will run our python script, it will start a Stream Listener which will look for tweets which contain ‘@saral_gyaan’ in it (this we have set up in the filter). Then comes on_status method, if there is any tweet mentioning saral_gyaan, it will grab the screen name of the user and the status id. Then it will check whether, that status/tweet has any media, and if it has a media, it will run a function called ‘tweet_image()’. No we will create the ‘tweet_image()’function
import requests
from io import BytesIO
from PIL import Image

def tweet_image(url, username, status_id):
    filename = 'temp.png'
    response = requests.get(url, stream=True)
    if response.status_code == 200:
        i = Image.open(BytesIO(request.content))
        i.save(filename)
        remove_bg(filename)
        api.update_with_media('no-bg.png', status=f'@{username}, Here is the picture without the background', in_reply_to_status_id=status_id)
    else:
        print("unable to download image")
It will check for the response from the stream, and if there is a response, it will open the image, save it as ‘temp.png’ and then run the function remove_bg() on it and finally update the twitter status mentioning the original user and containing the image without the background.
Finally, we will create the remove_bg() function, which will take the image attribute
def remove_bg(filename):
    response = requests.post(
    'https://api.remove.bg/v1.0/removebg',
    files={'image_file': open(filename, 'rb')},
    data={'size': 'auto'},
    headers={'X-Api-Key': config('BG_API_KEY')},)
    if response.status_code == requests.codes.ok:
        with open('no-bg.png', 'wb') as out:
            out.write(response.content)
    else:
        print("Error:", response.status_code, response.text)
This is a code which has been provided at remove.bg, it looks for the response, and if the reponse is “OK”, it removes the background and create “no-bg.png”, the same is tweeted out by tweet_image() function.
Now, run the script on your local machine and try it by tweeting the image.
$ python bot.py
And Voila, your bot is ready and running!
Check this tweet to see how it worked in the past.
Check out the complete code here